

Express Checkouts
Add Slide to Any Button, Any Page
Say goodbye to abandoned carts and clunky checkouts. Discover how SamCart’s Slide Checkout can boost your revenue and deliver a seamless buying experience in just a few clicks. Add our conversion optimized checkout to any button, anywhere - no coding required. Proven to boost conversions by 48%.
CHECKOUT ANYWHERE
What is Slide Checkout?
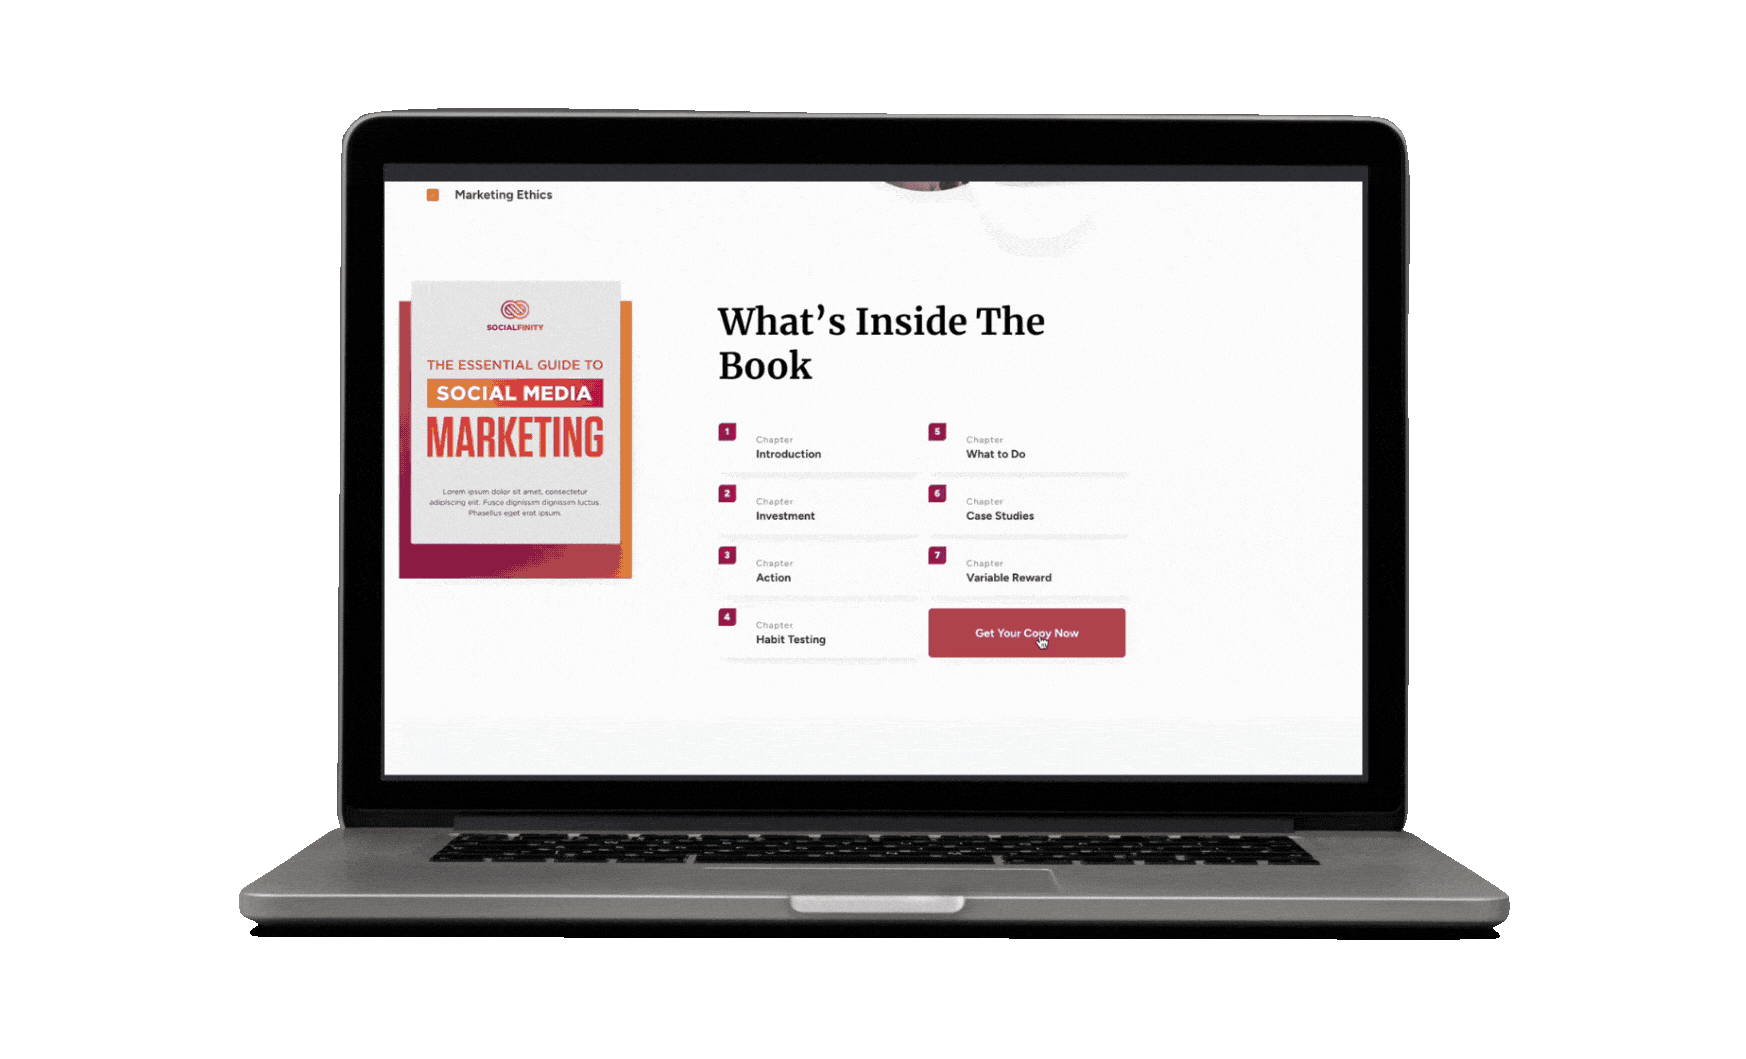
With Slide Checkout, you can turn any button, anywhere you sell, into an instant buying opportunity. The moment your audience clicks, the checkout slides in seamlessly—keeping them on the page and ready to buy. Unlike typical, clunky checkouts, Slide Checkout is built to maximize conversions by making the purchasing process faster and easier.
SamCart’s powerful tools handle the rest, turning more visitors into paying customers, effortlessly. It’s designed to eliminate friction and boost your sales with every click.

EASILY ADD ON ANY PAGE
Turn Browsers into Buyers with Fewer Clicks
With Slide Checkout, you can turn any button, anywhere you sell, into an instant buying opportunity. The moment your audience clicks, the checkout slides in seamlessly—keeping them on the page and ready to buy. Unlike typical, clunky checkouts, Slide Checkout is built to maximize conversions by making the purchasing process faster and easier.
SamCart’s powerful tools handle the rest, turning more visitors into paying customers, effortlessly. It’s designed to eliminate friction and boost your sales with every click.
One Page Checkout: Customers complete their purchase directly on the product page, without redirects or new tabs. Just slide, pay, and done.
Mobile Optimized: Perfect for mobile shoppers. The streamlined, responsive design ensures checkout is smooth and hassle-free on any device.
Payment Options: Support for various payment options and all digital wallets, including Stripe Link, PayPal, Apple Pay, Google Pay, and Buy Now Pay Later to provide your buyers flexibility.
Built for Conversions: Each element of Slide Checkout is designed to eliminate friction and reduce cart abandonment, driving more revenue to your bottom line.
EASILY ADD ON ANY PAGE
Fool-Proof Setup
Slide Checkout puts SamCart’s industry-leading checkout experience, and adds it directly onto any button. Simply click the CTA and our checkout will slide in from the left or right - you decide!
Every second counts when it comes to converting a customer. The moment your buyers hit a long, complicated checkout process, you're already losing them. With SamCart’s Slide Checkout, your customers never leave the page to complete their purchase. Instead, they slide smoothly into a friction-free, one-step payment experience that’s lightning-fast and mobile-friendly.
Slide Checkout brings the full power of SamCart directly to your audience, giving you the ability to optimize your checkout experience with our conversion boosting features likes: order bumps, upsells, upgrades, coupons and more.
Wix
Blogger
Squarespace
Highlevel
Lead Pages
Weblfow
Go Daddy
Kajabi
Wordpress
Framer
Circle
& More
Trusted by the Industry’s Biggest Creators


Try SamCart Free for 7 days.
Cancel anytime.
